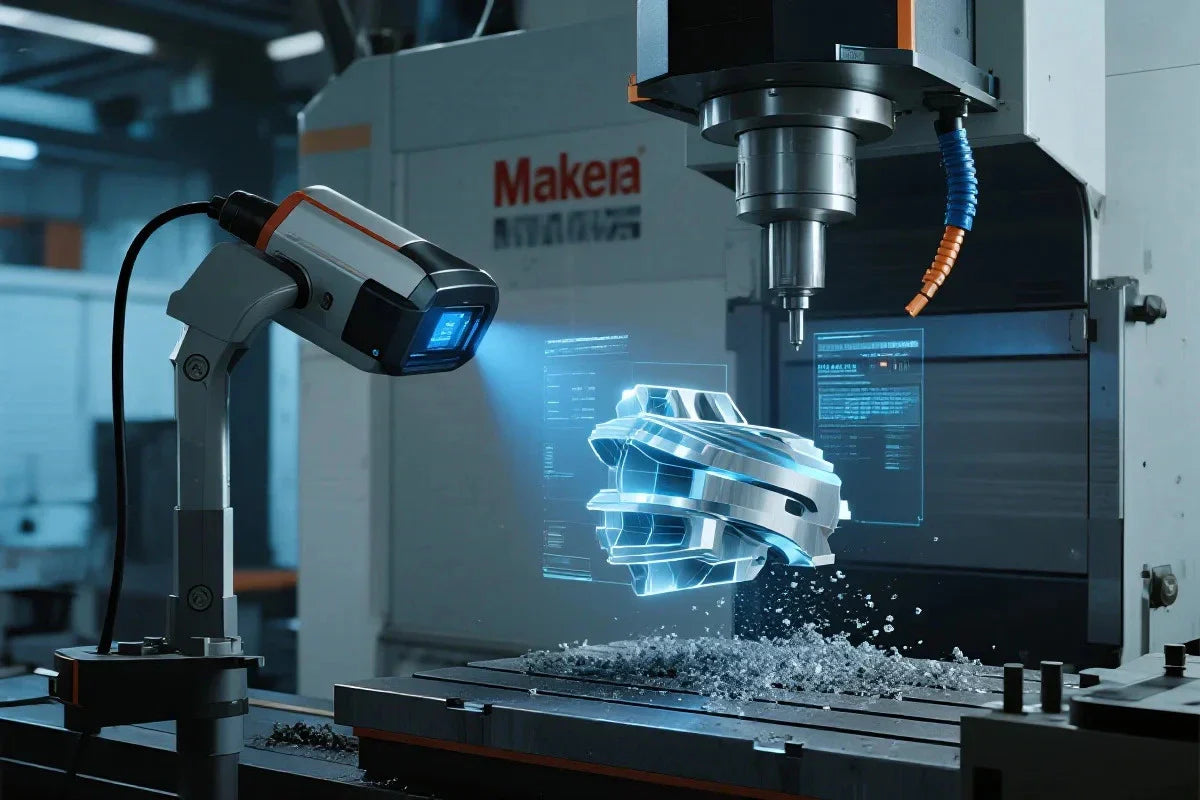
Have you ever needed to recreate a part, tool, or shape, but didn’t want to spend hours redrawing it in CAD? With a 3D scanner and a CNC machine like the Carvera or Carvera Air, you can skip manual modeling and go straight from physical object to machined part.
This workflow—scanning an object, generating toolpaths in Makera CAM, and cutting it on your CNC—is fast, efficient, and ideal for everything from repairs to custom designs. It’s especially powerful when working with complex, curved, or handmade objects that are difficult to model by hand.
Whether you’re an engineer, product designer, artist, or maker, combining 3D scanning with CNC machining opens up a new level of creative and practical possibilities.
Scan vs. Redraw: What’s the Difference?
When you redraw a part in CAD, the process involves:
- Measuring every surface and feature by hand
- Rebuilding the entire shape from scratch
- Testing and tweaking the model to get the right fit
This can be very accurate for simple parts, but it's time-consuming and frustrating for anything more complex.
With 3D scanning, you can:
- Digitize the object in minutes
- Clean up the digital model quickly
- Send it straight to Makera CAM and start machining
The result? Less time spent guessing and more time making.
In short:
1. Redrawing is great for simple parts with clear dimensions.
2. Scanning is ideal for organic, curved, or custom shapes that are hard to model.
What Can You Make with a 3D Scanner and CNC?
Some great use cases include:
-
Reverse Engineering Parts
Scan an old or broken part and machine a brand-new replacement in plastic or aluminum. -
Custom Handles and Tools
Shape a tool grip by hand, scan it, and mill it from hardwood or metal for a perfect, ergonomic fit. -
Art and Sculpture Reproduction
Capture a hand-carved model and carve it again in foam, wood, or wax—great for molds or display pieces. -
Jewelry and Prototypes
Scan detailed wax models or prototypes and machine them with high accuracy for casting or testing.
Step-by-Step: From Scan to CNC Cut
1. Scan the Object
Use your 3D scanner to capture the full shape of the object. This creates a 3D file (usually STL or OBJ) that represents surface geometry.
2. Clean the Model
Use your scanner’s built-in software or a basic 3D editing tool to smooth rough edges, close holes, and make sure the model is solid and clean.
3. Import into Makera CAM
Open Makera CAM and load your model. Set the stock size (your material), adjust orientation, and place the model where you want to cut it.
4. Set Toolpaths
Select your cutting strategies:
- Roughing: Quickly removes most of the material using a larger tool.
- Finishing: Uses a smaller tool (like a ball-nose) to bring out the fine detail.
Makera CAM gives you full control over cutting depth, tool changes, and previewing results.
5. Generate G-code
Once your toolpaths are set, export the G-code. This file includes all the instructions the Carvera or Carvera Air needs—tool changes, cutting movements, and automatic probing.
6. CNC Setup and Cutting
Mount your material, probe the surface using the built-in touch-off tool, load your first tool, and hit start. The machine handles the rest.
Tips for Better Results
- Start simple – Try soft materials like foam or wood as you learn the workflow.
- Match scan quality to your tools – Scanning in super high detail doesn’t help if you’re using a large-diameter tool.
- Adjust for fit – Add a small offset if the part needs to slot into or fit with other objects.
Final Thoughts
Recreating a part from scratch using CAD takes time and skill. With a 3D scanner and your Carvera or Carvera Air CNC, you can go from object to finished part with far less effort—and often better results.
Whether you're rebuilding something old, customizing a tool, or bringing a sculpture to life in another material, this workflow saves time, increases precision, and expands what you can do in your workshop.
Scan it. Cut it. Make it real.

Are milling PCBs finally the future of electronic prototyping?
Are milling PCBs finally the future of electronic prototyping?