
Introduction

Trammel of Archimedes Example Project by Makera
To get ready for the new school year, we’ve put another project and lesson plan together to support teachers as they bring CNC machining into the classroom. The Trammel of Archimedes is one of the more well known ellipsographs, and this project challenges students and makers to fabricate their own mechanical tools using the Carvera Air Desktop CNC.
What are Makera Lesson Plans?
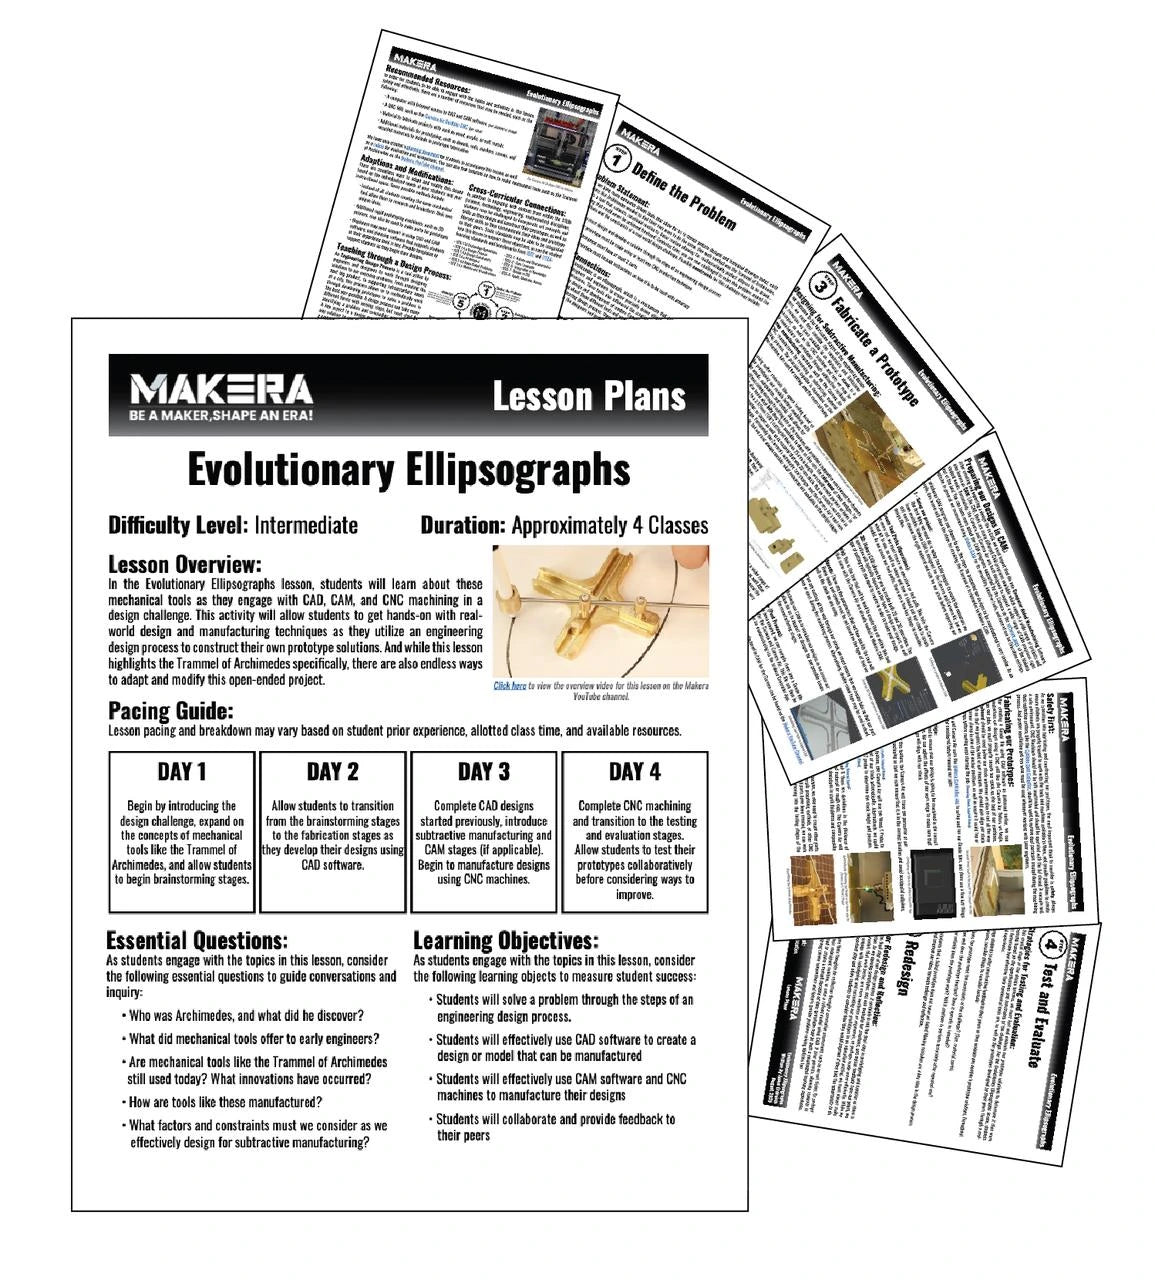
Preview of the Evolutionary Ellipsographs Lesson Plan by Makera
Makera Lesson Plans go beyond our typical project tutorials and guides. In addition to creating a step-by-step tutorial video and sharing example files, lesson plans also offer instructional resources to teachers looking to bring these concepts into their classrooms.
Makera Lesson Plans are 100% free for all users looking to bring CNC machining into their instructional space. Each lesson plan not only incorporates engaging topics and real-world design challenges, but also pacing guides, strategies for modifications and adaptions, and standard-aligned learning objectives. We also have designed project introduction videos, handouts, and example rubrics to support teachers further.
You can find our lessons with all of our other example projects on the Knowledge Sharing page of our Wiki.
Designing an Ellipsograph

Brainstorming our ideas using the Makera Lesson Plan student design brief for Evolutionary Ellipsographs
Ellipsographs like the Trammel of Archimedes example are mechanical instruments which allow for mathematically perfect ellipses to be drawn. Something that could never be achieved by free hand! This was a key tool for early engineers like Archimedes, and many who followed, whenever creating technical drawings or blueprints. While these tools are less popular today as we now have computer aided software to support this challenge, we think its still a fun and challenging design project to engage with.
We also recommend you start your designs with a sketch, like thumbnail sketches and technical drawings as shown in our Evolutionary Ellipsograph lesson plan. Once you’ve narrowed your ideas into a more comprehensive direction, it's time to move to Computer Aided Design, or CAD, software to develop your model.

Designing the parts for an example Trammel of Archimedes in Autodesk Fusion
When working with CNC machines, you can utilize a wide range of CAD models to manufacture your parts. Both 2D and 3D images will often work well, so this gives you the creative freedom to choose the tools that support your own needs when creating your designs. We’ve shared a simple Trammel of Archimedes design that has both 2D and 3D files on our wiki, as well as a more complex one with multiple 3D parts that require some post-production finishing operations as examples.
Preparing your Designs for Manufacturing

Preparing the Trammel of Archimedes Example in Makera CAM
Once you’ve finished your CAD models, it's time to bring them into Computer Aided Manufacturing software, or CAM for short. Both the Carvera and Carvera Air are compatible with a wide range of CAM software solutions, and we find that a lot of our schools utilize Autodesk Fusion or Solidworks when supporting student needs.
Makera CAM is another program to consider as it not only works with a wide range of 2D and 3D design files, it's also designed to be a more intuitive approach to preparing your designs for CNC machining. Depending on your project requirements, specific CAM processes might vary a bit. But in general, its important to cover the following steps before moving forward:
1. Setup your Project
First, we need to set our stock parameters by choosing the material we’re going to use, as well as the size of the material we have available. This is important because Makera CAM will automatically scale our design based on these parameters, and select the right speed and feed settings for us too.
2. Import your Designs
Next, import the design files you’ve downloaded or made in CAD. If you need to create multiple parts, ensure all of your parts fit on the same piece of stock you have available. If not, consider creating multiple CAM files for the different parts and stock requirements.
3. Prepare your Tool Paths
The Tool Paths are the specific operations our CNC’s need to perform in order to make our parts. Your project might have one, two, or even ten tool paths in order to create all of the cuts and things required. Follow our tutorials to see how we can create drill, pocket, and contour tool paths for this example project.
4. Preview your Tool Paths
Before machining, it's always a good idea to Preview your tool paths in the CAM stages. This offers a 3D visual for how your part will be milled, and offers a chance to catch any possible mistakes that may have been made when preparing your design files for CNC production.
5. Export the G-code
The last step for the CAM process is to export your tool paths into a coded file generated in GCode. This file are the instructions our CNC machines need in order to actually create our parts!
Machining the Project

The Carvera Air CNC machining the Trammel of Archimedes example project out of solid brass
The final step to creating our project is to get hands-on with our CNC machines and fabricate it! For the Carvera Air, we can utilize the Makera Controller App to upload our GCode files directly to the machine. To assist users in learning how to operate CNC machines safely and successfully, we’ve created a Getting Started Video Series that shows how to secure stock, as well as other key steps for success.
After securing the stock and starting the job, the Carvera Air will automatically measure the height of your stock and calibrate its cutting tools accordingly. All you need to do is load your cutting tool using the quick tool changer, and sit back while the machine does all of the work!
When all of the parts are finished, you might need to complete a few post production steps to assemble your ellipsograph. This might include cutting tabs and sanding edges, or removing double sided tape as shown in our tutorial video. For our more complex example project, some drilling is also required for assembly.
But once done, you’ve have a handy tool that lets you create ellipses like a legend!
The full tutorial video is as follows:
Conclusion
The Trammel of Archimedes project is a more challenging one, but also one that allows students to consider the complexities of a mutli-part project, as well as different materials that can be used for the creation of their designs.
It's important to remember that there is never one way to complete any project. Consider what resources you have available as you design your own unique way to solve real-world problems with CNC machines!
Makera at IFA 2025: Live CNC Demos, Z1 Award & What’s Next
Can You Start a Business With a Desktop CNC Machine in 2025?